Cleaning a gaming laptop properly means going beyond wiping the screen and keyboard; the dust that actually causes rising temperatures and fan noise sits deep inside the chassis on the heatsink fins and fan blades, and reaching it requires opening the bottom panel. This guide covers both levels: the quick external clean you can do weekly with a cloth and compressed air, and the full internal clean that meaningfully restores cooling performance every few months.
None of this requires professional tools or experience. A single Phillips screwdriver, a can of compressed air, a soft brush, and about twenty minutes covers the entire process, and the risk of damage is low if you follow the power-down and grounding steps before opening the chassis.
As an Amazon Associate we earn from qualifying purchases at no extra cost to you.





Top 3 picks at a glance
Why Regular Cleaning Matters for Performance and Longevity
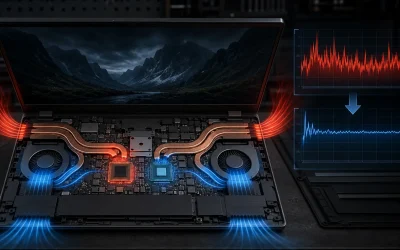
Dust accumulating on heatsink fins physically blocks the narrow channels that carry heat away from the CPU and GPU, and because those channels are often less than a millimeter wide, even a thin, felted layer of dust can reduce airflow through them by a substantial margin. This is the single most common cause of a laptop that ran cool and quiet when new gradually becoming louder and hotter over its first one to two years, independent of any change in the games being played or settings used.
The performance consequence is direct: reduced airflow through the heatsink means the CPU and GPU dissipate heat less efficiently at the same clock speed, which pushes temperatures higher and brings the chip closer to its thermal throttle point sooner during a gaming session. A laptop that used to sustain its advertised boost clocks for an entire session can start throttling within minutes once dust buildup becomes significant, producing the frustrating experience of a laptop that seems to have gotten slower over time even though nothing was changed in software.
Fan wear is a secondary but real concern, since fans compensate for reduced airflow by spinning faster and running longer to try to maintain target temperatures, which accelerates bearing wear and shortens fan lifespan. A laptop that is regularly cleaned typically shows less fan noise increase over its lifespan than an identical model left uncleaned, because the fans are not being forced to work harder than necessary to overcome blocked airflow.
Battery and internal component longevity also benefit indirectly, since components running consistently hotter degrade faster over time; this applies to the battery cell chemistry, which loses capacity faster at sustained elevated temperatures, and to solder joints and capacitors elsewhere on the motherboard, which have a statistically shorter service life under chronic thermal stress compared to a well-maintained, properly cooled system.
External Cleaning: Screen, Keyboard, and Chassis
Power off the laptop completely before cleaning any external surface, and unplug the charger. For the screen, use a microfiber cloth lightly dampened with distilled water, or a cleaning solution specifically labeled safe for anti-glare or anti-reflective coatings; avoid ammonia-based glass cleaners, alcohol-heavy solutions, and paper towels, all of which can degrade the coating found on most gaming laptop panels over repeated use.
Wipe in a single direction with light pressure rather than scrubbing in circles, since gaming laptop panels, particularly matte anti-glare finishes, can show visible streaking or coating wear if cleaned aggressively over time. If a spot does not come off with a damp cloth alone, add slightly more distilled water rather than pressing harder, and let the moisture sit briefly to loosen the residue before wiping.
For the keyboard, tilt the laptop at roughly a 75-degree angle and use compressed air in short bursts between the keys to dislodge crumbs, hair, and dust that accumulate underneath, then follow with a soft brush (a clean, dry paintbrush works well) to sweep loose debris toward the edge of the keyboard tray where it can be brushed away. A slightly damp microfiber cloth can then wipe the keycap surfaces themselves, avoiding excess moisture that could seep between keys.
For the chassis exterior, including the palm rest, lid, and bottom panel, a microfiber cloth dampened with a mild mix of water and a small amount of isopropyl alcohol (roughly 70% concentration) handles fingerprints, oils, and general grime effectively on both plastic and aluminum finishes. Avoid spraying liquid directly onto the laptop; always apply it to the cloth first to prevent moisture from seeping into ports, vents, or seams.
Tools You Need for a Safe Deep Clean
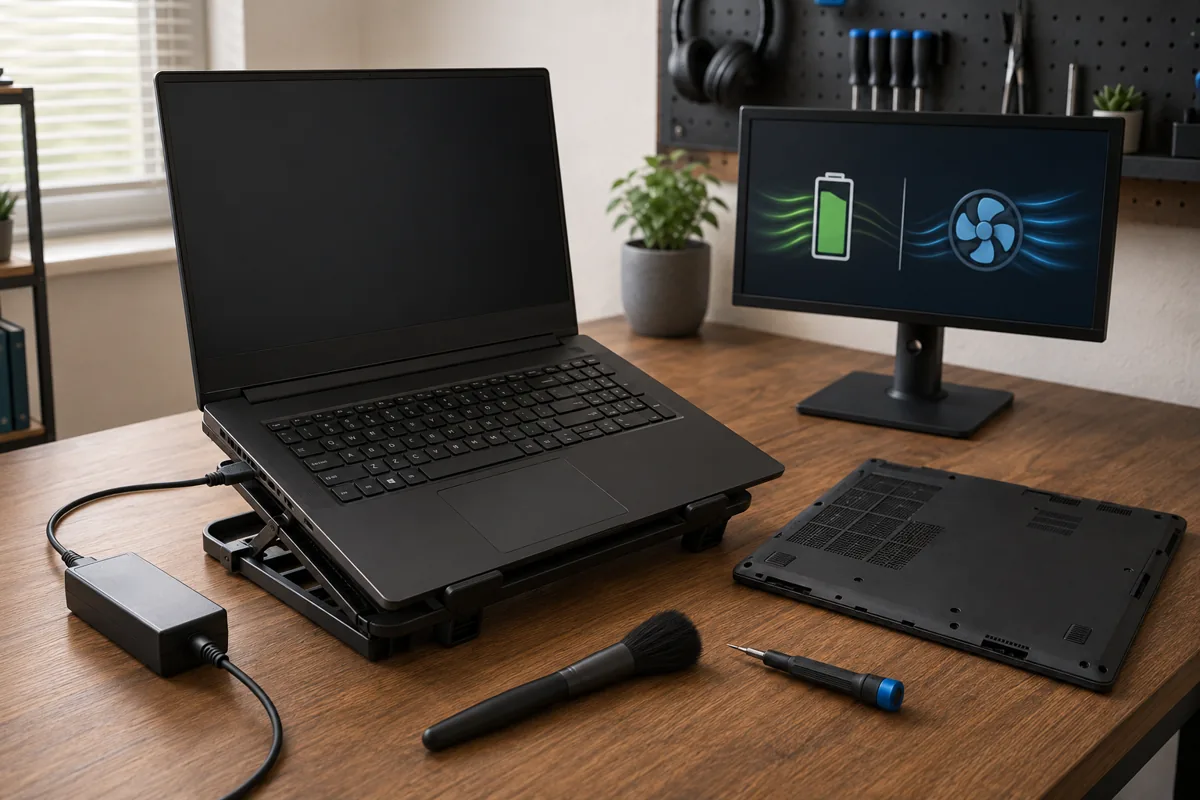
A Phillips #00 or #0 precision screwdriver handles nearly every screw on the bottom panel of current gaming laptops; owning a small precision bit set (available for under $15) ensures you have the exact size needed rather than risking a stripped screw head with a slightly mismatched driver. A plastic pry tool or spudger separates the panel’s clips without scratching the chassis finish.
Compressed air in a can is the primary tool for dislodging dust from fan blades and heatsink fins; buy a can specifically labeled for electronics use rather than a generic aerosol duster, since electronics-specific formulations are less likely to leave moisture residue. A small, soft-bristled brush, such as an unused, clean paintbrush or a dedicated electronics cleaning brush, helps loosen compacted dust that compressed air alone cannot dislodge, particularly on fan blades where dust often forms a felted layer rather than loose particles.
Isopropyl alcohol (90% or higher concentration, sold at most pharmacies) and cotton swabs are useful for spot-cleaning specific components like port connectors or stubborn residue, though they are not necessary for the fan and heatsink cleaning itself. A can of compressed air combined with a brush handles the vast majority of internal dust removal without needing any liquid near the internals.
An anti-static wrist strap is worth using any time the chassis is open, clipped to an unpainted metal part of the laptop or an external grounded object, since static discharge while handling internal components (even during a simple cleaning rather than a component swap) carries a small but real risk of degrading sensitive electronics. If you do not own one, touching a grounded metal object for a few seconds before starting is an acceptable substitute.
Step-by-Step: Opening the Bottom Panel Safely
Power the laptop off completely, unplug the charger, and hold the power button for ten seconds to discharge residual capacitor charge. Flip the laptop over onto a soft, non-scratching surface (a folded towel works well) and locate every screw on the bottom panel, which is typically six to twelve Phillips screws depending on the model; some laptops hide one or two screws under a rubber foot or a warranty sticker.
Remove each screw and set it aside in a small dish, keeping track of position if your specific model uses different screw lengths at different mounting points, which is common on laptops with a mix of chassis-securing and component-securing screws in the same panel. Using the wrong length screw during reassembly can either fail to secure the panel properly or, if too long, press into and damage an internal component or ribbon cable.
Once all screws are removed, use a plastic spudger or pry tool to gently separate the panel from the chassis, starting at one corner and working around the perimeter rather than prying multiple points simultaneously, which risks cracking a clip under uneven stress. Most panels are held by a combination of screws and small plastic clips spaced every few inches around the edge, and each clip releases with a light, distinct pop when properly aligned.
Set the removed panel aside in a safe spot, and take a moment to photograph the internal layout before touching anything further, which provides a useful reference during reassembly, particularly for identifying cable routing near the fan and heatsink area that should not be disturbed during cleaning.
Cleaning the Fans and Heatsink Fins
With the bottom panel removed, locate the fan assembly, typically one or two fans positioned near the heat pipes running from the CPU and GPU to the exhaust vents at the rear or sides of the chassis. Before using compressed air, hold each fan’s blades still with a finger, a toothpick, or a cotton swab, since compressed air can spin the fan blades to speeds well beyond their normal operating range, and a spinning fan can act as a makeshift generator, sending a voltage spike back through the motherboard that, while rarely catastrophic, is an unnecessary risk worth avoiding entirely.
Spray compressed air in short, controlled bursts directly at the fan blades and the heatsink fins from multiple angles, working to dislodge visible dust buildup rather than a single prolonged spray, which risks moisture from the can’s propellant condensing on internal components. Direct the airflow so dust is pushed out through the exhaust vent opening rather than deeper into the chassis.
For dust compacted into a felted layer on the fan blades or fin edges, which compressed air alone often cannot fully remove, use a soft, dry brush to gently loosen it first, then follow with compressed air to clear the loosened particles. This combination reaches significantly more accumulated dust than either tool used alone, particularly on laptops that have gone a year or more without cleaning.
Inspect the heatsink fins closely after cleaning; if you can see daylight or a clear path through the fin channels when held up to a light source, the cleaning was effective. If fins still appear visibly clogged or discolored with a dense, compacted layer, a second pass with the brush and compressed air, or in stubborn cases a plastic-safe cleaning tool to physically comb through the fins, may be necessary.
Cleaning Ports, Vents, and Speaker Grilles
USB, HDMI, and charging ports accumulate dust and lint over time, which can interfere with connection quality and, in rare cases, cause charging or data transfer issues. Use compressed air in short bursts directed into each port, or a dry cotton swab for ports large enough to accommodate one without forcing it, and avoid inserting anything metal or sharp that could bend internal contacts.
Exhaust and intake vents, whether on the bottom panel, rear edge, or side panels, benefit from the same compressed air treatment used on the internal fans, blown from the outside in short bursts to dislodge surface-level dust before it works its way deeper into the chassis. This external vent cleaning is safe to do more frequently than a full internal clean, since it requires no disassembly and takes under a minute.
Speaker grilles, typically located on the bottom panel or along the front edge near the palm rest, trap dust that can measurably muffle audio output over time; a soft brush combined with compressed air held at a slight angle (rather than straight on, which can stress the speaker diaphragm) clears this buildup effectively without risking damage to the speaker components underneath.
The webcam, if present above the screen, benefits from a dry microfiber cloth or a lens cleaning cloth rather than compressed air, since the tiny gap around most laptop webcams is not a significant dust entry point and gentle wiping is both safer and sufficient for maintaining image clarity.
How Often to Clean Based on Your Environment
Cleaning frequency should scale with your usage pattern and environment rather than following a single fixed schedule, since a laptop used for two hours a day in a clean apartment accumulates dust far more slowly than one used for six-plus hours daily in a home with pets or in a dustier climate. The table below offers realistic starting guidance based on common usage profiles.
| Environment / Usage | External Wipe-Down | Full Internal Clean |
|---|---|---|
| Light use, clean environment, no pets | Weekly | Every 6-8 months |
| Daily gaming (2-4 hrs), typical home | Weekly | Every 4-6 months |
| Heavy use (4+ hrs/day) or pets in home | 2-3x weekly | Every 2-3 months |
| Dusty/construction-adjacent environment | 2-3x weekly | Every 1-2 months |
| Used on carpet, bed, or soft surfaces often | Weekly | Every 2-3 months |
If you notice fan noise increasing during normal, previously quiet workloads, or temperatures reported in your manufacturer’s control center or a monitoring tool climbing several degrees above what was typical when the laptop was new, treat that as a signal to clean sooner than your regular schedule, regardless of how long it has been since the last cleaning.
Common Mistakes That Damage Laptops During Cleaning
Spraying compressed air without holding the fan blades still is the most common source of accidental damage during a DIY cleaning, since free-spinning fan blades can exceed their rated RPM under the force of compressed air, creating a voltage spike or, in more severe cases, physically damaging the fan bearing from the sudden, uncontrolled speed. Always immobilize the blades with a finger or tool before spraying.
Using liquid cleaners directly on internal components, rather than isopropyl alcohol applied sparingly to a cloth or swab for external contacts, risks corrosion or short circuits on the motherboard, and even small amounts of moisture near power delivery components can cause long-term corrosion that is not immediately obvious but shortens component lifespan.
Forcing a bottom panel clip before locating and removing every screw is a frequent cause of cracked plastic tabs, since even a single missed screw creates enough resistance that prying the panel feels similar to a stuck clip, leading many first-time cleaners to apply more force than the clip can handle. Always do a full visual and physical check for remaining screws before applying any prying pressure.
Skipping the anti-static precaution, particularly when touching the fan assembly or areas near the motherboard, carries a small but avoidable risk of static discharge damage to sensitive components; this is easy to prevent with a wrist strap or simply touching a grounded object beforehand, and the cost of skipping it (a potentially damaged component) far outweighs the thirty seconds it takes to ground yourself properly.
Troubleshooting: What to Do If Cleaning Doesn’t Fix Overheating
If temperatures remain elevated after a thorough internal cleaning, the next most likely cause is degraded thermal paste between the CPU or GPU die and the heatsink’s contact plate, which cleaning alone does not address since it requires removing the heatsink assembly entirely to access and replace. This is a more involved repair; see a dedicated guide on thermal throttling fixes for the repasting process and expected temperature improvement.
If one specific component (for example the GPU) remains hot while others show normal temperatures after cleaning, check for a heat pipe that may have lost proper contact with that component’s die, which can happen from a previous disassembly, a manufacturing tolerance issue, or physical shock from a drop; this typically requires reseating the heatsink with fresh paste rather than simply cleaning dust.
If the laptop’s fans do not appear to spin up at all, or spin at a noticeably reduced RPM compared to before, even under demanding load, inspect the fan cable connector on the motherboard to confirm it was not accidentally loosened during the cleaning process, since a partially disconnected fan cable can cause a fan to run at a fixed low speed or not at all despite otherwise correct reassembly.
If temperatures and fan behavior seem normal after cleaning but FPS still drops during long sessions, revisit whether the cause might be a power limit setting or a background application competing for resources rather than heat at all; monitoring software that logs both temperature and clock speed simultaneously will clarify which explanation actually fits your specific symptoms.
According to Aaron Whitfield, Mobile Systems Editor who logs temperature and airflow data with a thermal camera and standardized benchmark suite on every laptop tested, a laptop that has gone more than a year without an internal cleaning typically shows a five to ten degree Celsius temperature reduction after a proper cleaning alone, before any repasting or other fix is applied, which underscores how much of a laptop’s perceived thermal aging is simply reversible maintenance rather than genuine hardware degradation.
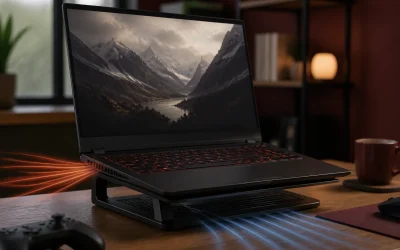
If cleaning and basic maintenance are not resolving your laptop’s heat issues, our guide to gaming laptop thermal throttling fixes covers the next steps, including repasting and fan curve adjustments. Readers weighing whether ongoing maintenance is worth it versus replacing an aging machine should also read our gaming laptop lifespan guide. If you frequently use your laptop on soft surfaces that trap dust and heat, our best gaming laptop cooling pad picks address both airflow and elevation. And for anyone shopping for a new machine with easier long-term maintenance in mind, our best 17 inch gaming laptop guide notes which chassis designs offer more accessible internals.
Frequently Asked Questions
How often should I deep clean my gaming laptop?
Every four to six months for typical daily gaming use in a clean environment, or every two to three months if you have pets, live somewhere dusty, or game for more than three hours a day, since dust accumulation on the fan blades and heatsink fins is progressive and its cooling impact compounds the longer it goes unaddressed.
Can I clean a gaming laptop without opening the case?
You can meaningfully help with compressed air through the exhaust vents while the laptop is off, which dislodges loose surface dust, but this only reaches a fraction of what accumulates deep in the heatsink fins, so external-only cleaning slows but does not stop rising temperatures over the long term.
Is it safe to use compressed air on a laptop?
Yes, as long as the laptop is fully powered off, you hold the fan blades still with a toothpick or your finger through the vent while spraying (fans can spin fast enough to generate damaging voltage as makeshift generators), and you use short bursts rather than one continuous spray to avoid moisture from the can’s propellant.
What should I never use to clean a laptop screen?
Avoid glass cleaners containing ammonia or alcohol-heavy solutions, paper towels, and any abrasive cloth, since these can strip anti-glare and anti-reflective coatings found on many gaming laptop panels; use a microfiber cloth lightly dampened with distilled water or a screen-specific cleaning solution instead.
Will cleaning my laptop void the warranty?
External cleaning never affects warranty coverage, and opening the bottom panel to access RAM, storage, and often the fan assembly is explicitly permitted by most manufacturers, but always check your specific model’s warranty terms for a void-if-removed sticker over the access panel before opening it.