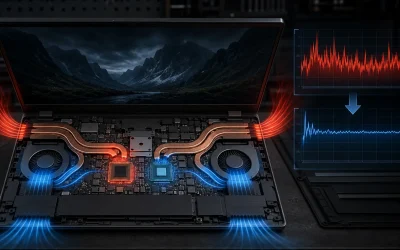
A gaming laptop running hot is not just uncomfortable to hold, it is actively losing performance, since thermal throttling reduces CPU and GPU clock speeds the moment internal temperatures approach their safety limits. The good news is that most of the fixes are cheap, reversible, and do not require opening the laptop at all. This guide covers cooling pads, cleaning, undervolting, and settings changes in the order that delivers the most benefit for the least effort and risk.
Top 3 picks at a glance

Why laptops throttle more than desktops
A gaming laptop packs a CPU and GPU into a chassis with a fraction of the interior volume a desktop case provides, leaving much less room for heatsink surface area, fan size, and airflow clearance. This physical constraint means laptop cooling systems operate closer to their limits during sustained gaming load than an equivalent desktop cooling setup handling the same components.
As an Amazon Associate we earn from qualifying purchases at no extra cost to you.




Thermal throttling is the automatic process where a CPU or GPU reduces its clock speed once internal temperature approaches a safety threshold, protecting the hardware from damage at the cost of reduced performance. This is a built-in safety feature working as intended rather than a malfunction, though it directly translates to lower and less consistent frame rates during long sessions.
Chassis size plays a significant role in how much throttling a specific laptop experiences: larger 16-inch and 17-inch laptops generally accommodate bigger fans and more vent area than thin 14-inch designs, which is part of why two laptops with the identical GPU tier can show meaningfully different sustained performance, a topic covered in more depth in our guide on laptop GPU TGP explained.
Throttling typically becomes noticeable during extended sessions of 20 minutes or longer, rather than in short bursts, since it takes sustained load for internal temperatures to climb from idle up to the point where the cooling system can no longer keep pace with heat generation, which is why brief benchmark tests sometimes look better than the real experience during a two-hour gaming session.
Understanding that some throttling is a normal, expected part of laptop gaming, rather than a defect, helps set realistic expectations: the goal of the steps in this guide is to reduce and delay throttling as much as reasonably possible, not necessarily to eliminate it entirely on every laptop and workload combination.
Understanding safe temperature ranges
Most current laptop CPUs and GPUs are rated to operate safely up to approximately 90-100 degrees Celsius before automatic throttling engages more aggressively or, in extreme cases, the system shuts down to prevent damage. This is a built-in hardware safety limit set by the manufacturer, not a suggestion.
During normal gaming sessions, temperatures in the 70-85 degree Celsius range are common and not inherently a problem, since laptop components are specifically designed and tested to run in this range for extended periods without long-term damage. The concern is less about hitting these numbers occasionally and more about sustained readings pushing consistently above 90 degrees.
The table below offers general reference ranges based on how laptop CPUs and GPUs are typically rated, useful for interpreting monitoring software readings rather than as a strict pass-fail test for any specific model.
| Temperature range (Celsius) | General interpretation |
|---|---|
| Below 70 | Comfortable, well within normal operating range |
| 70-85 | Normal under sustained gaming load, expected on most laptops |
| 85-95 | Approaching throttle territory, worth monitoring and addressing |
| 95+ | Likely actively throttling or near shutdown protection threshold |
Free monitoring tools like HWMonitor or the manufacturer’s own control software let you check real-time CPU and GPU temperatures during a gaming session, which is the first step before applying any of the cooling fixes below, since it establishes your actual starting point rather than guessing at whether heat is genuinely a problem for your specific laptop.
Fan curve behavior also matters here: some laptops keep fans relatively quiet until temperatures climb quite high, meaning a laptop that feels quiet is not necessarily running cool, so checking actual temperature readings rather than judging by fan noise alone gives a more accurate picture.
Cooling pads: what they actually do
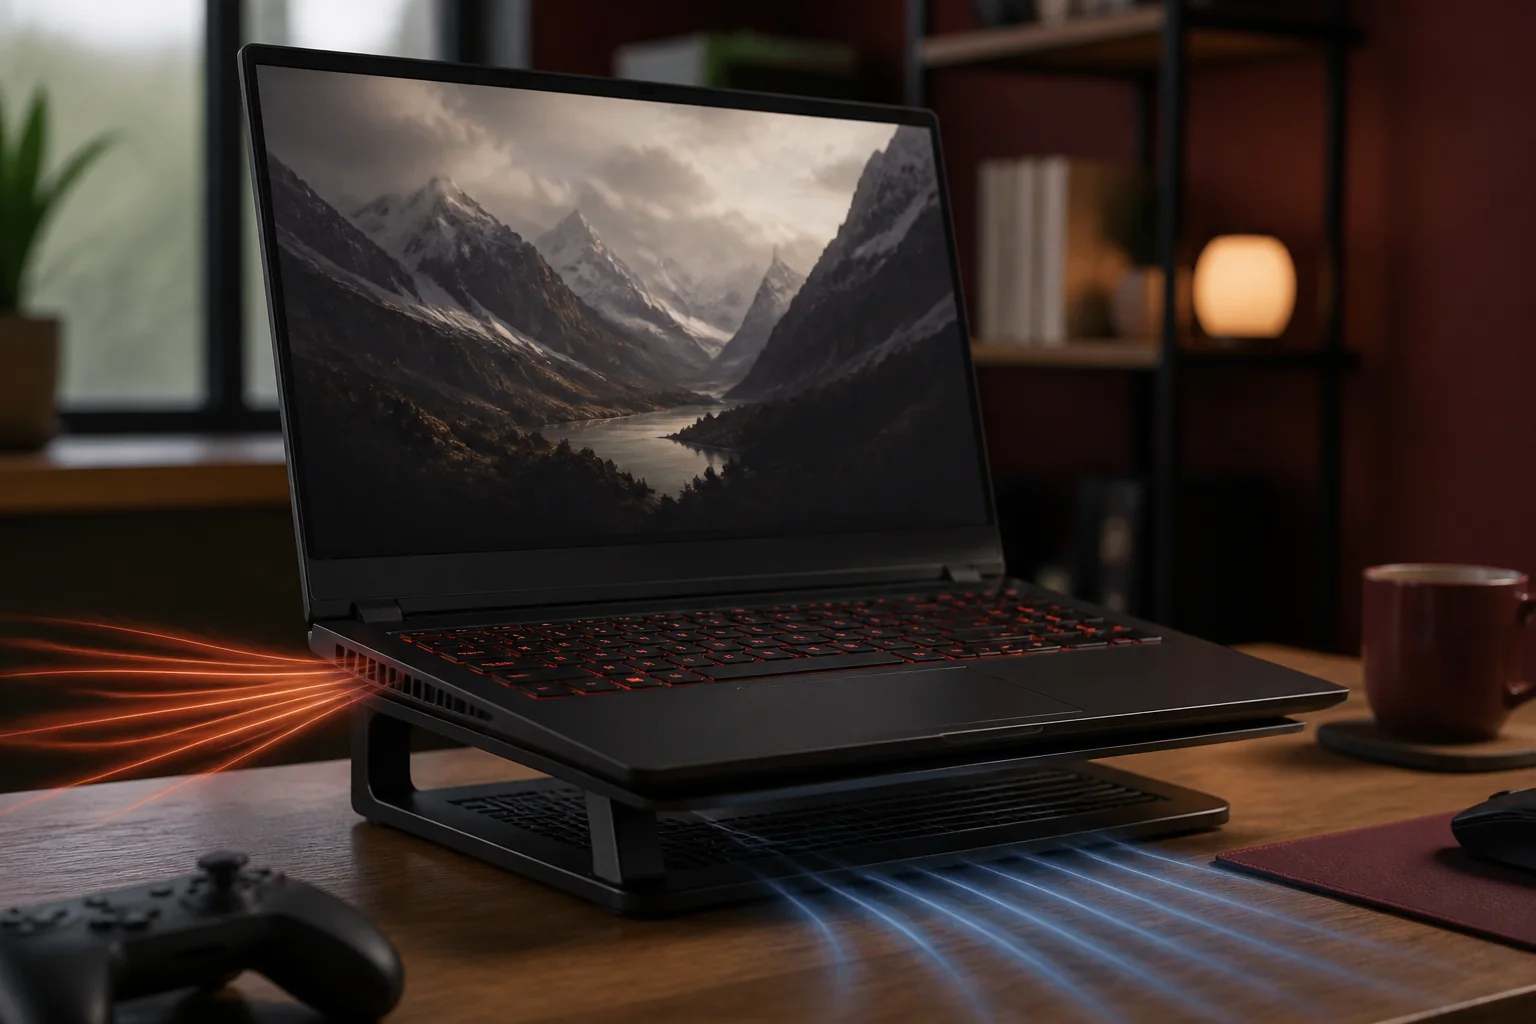
A laptop cooling pad is an external stand with built-in fans that sits underneath the laptop, pushing additional airflow up through the bottom intake vents that most gaming laptops rely on for drawing in cool air. This supplements, rather than replaces, the laptop’s own internal fans.
Quality cooling pads with strong fans, typically rated by airflow in CFM and available in the $25-50 range, can lower internal component temperatures by an estimated 5-10 degrees Celsius during sustained gaming load, which is often enough to meaningfully reduce or delay the onset of thermal throttling, though the exact benefit depends on how well the pad’s fan positions align with your specific laptop’s intake vents.
Not all cooling pads perform equally: a pad with a single large central fan may not align well with laptops that have multiple smaller intake vents spread across the bottom panel, so checking your laptop’s vent layout against a cooling pad’s fan placement before buying avoids purchasing one that provides little real benefit.
Cooling pads add noise of their own, typically in the 20-35 decibel range depending on fan speed setting, which is worth factoring in if you are already managing laptop fan noise, since a cooling pad running at maximum speed can add a comparable amount of sound to what it is trying to help reduce through better thermal management.
Elevation angle matters too: many cooling pads tilt the laptop slightly, which can improve typing ergonomics as a side benefit while also improving natural airflow underneath the chassis even before considering the pad’s active fans, making tilt-only stands a lower-cost partial option if a full active cooling pad is not in budget.
Positioning and surface matter more than expected
The surface a laptop sits on directly affects how much air its bottom-mounted intake vents can actually draw in, and soft surfaces like a bed, couch cushion, or lap blanket can partially or fully block these vents, causing temperatures to climb significantly compared to using the same laptop on a hard, flat desk surface.
Gaming on a bed or couch is one of the most common and easily fixed causes of unexpectedly poor thermal performance, since the soft surface conforms around the laptop’s bottom vents rather than leaving the clearance a hard desk surface naturally provides, effectively starving the cooling system of intake airflow regardless of how well-designed the internal cooling is.
A hard, flat surface with at least a small amount of clearance underneath, even something as simple as a book or a dedicated laptop stand, restores proper airflow and can noticeably improve sustained temperatures compared to a soft, uneven surface, independent of any other cooling upgrade.
Room ambient temperature also factors in more than most users consider: gaming in a warm room during summer months, especially without air conditioning, raises the baseline air temperature the cooling system has to work against, meaning the same laptop can run measurably hotter on a warm evening than during a cooler session, a variable outside the laptop’s own design that is still worth being aware of.
Keeping the laptop’s exhaust vents, usually located at the rear or sides, clear of obstruction is equally important as the intake vents underneath, since blocked exhaust airflow traps heat inside the chassis even if intake air is flowing normally, so check that nothing, including cables or nearby objects, is obstructing the rear vent area during use.
Cleaning dust from vents and fans
Dust accumulation inside laptop fans and heatsink fins is one of the most common, gradual causes of rising temperatures over months of regular use, since dust reduces airflow efficiency and can insulate heatsink fins from properly transferring heat away from the components underneath.
Compressed air is the standard tool for this job: with the laptop powered off and unplugged, direct short bursts of compressed air into the visible exhaust vents, which often blows accumulated dust back out the same path it entered, sometimes producing a visible dust cloud on laptops that have not been cleaned in a year or more.
For a more thorough clean, some laptops have a removable bottom panel providing direct access to the fan and heatsink assembly, though the difficulty of this varies significantly by model, with some designs requiring only a few screws and others requiring more extensive disassembly that risks void warranty stickers or requires specialized tools.
Every three to six months is a reasonable general cleaning interval for typical use, though heavy daily gamers, pet owners, or anyone in a dusty environment should consider monthly checks, using rising fan noise or climbing temperatures during familiar games as a practical signal that cleaning is due sooner than your calendar reminder.
Avoid using a vacuum cleaner directly on internal components if you do open the laptop, since vacuum motors can generate static electricity that risks damaging sensitive electronics, and compressed air remains the safer, standard recommendation for both surface-level and internal dust removal.
Thermal paste and when repasting helps
Thermal paste, the compound between the CPU/GPU die and the heatsink that transfers heat efficiently, naturally dries out and loses effectiveness over roughly two to three years of regular use, gradually reducing heat transfer efficiency even without any dust or airflow problem being present.
Repasting, meaning removing the old dried paste and applying fresh thermal compound, can lower temperatures noticeably on laptops that are two years or older, sometimes by 5-15 degrees Celsius depending on how degraded the original paste had become, though this benefit is most pronounced on laptops that have never been repasted since the factory application.
This process requires full or near-full disassembly on most gaming laptops, exposing the motherboard, CPU, and GPU directly, which carries real risk of damage if done incorrectly and will void the warranty on most laptops still under coverage, making it a step best reserved for laptops out of warranty or for users experienced with laptop teardown.
If you are not confident performing this yourself, a local repair shop experienced with gaming laptops can typically repaste for a reasonable service fee, which is a safer option than attempting a first disassembly on an expensive current laptop still under warranty.
Repasting should generally be considered after trying cooling pads, cleaning, and software adjustments first, since it is the most invasive and risky option on this list, appropriate mainly for older laptops where other measures have already been tried and temperatures remain stubbornly high.
Undervolting: lowering temperatures through software
Undervolting reduces the voltage supplied to the CPU or GPU while maintaining the same clock speeds, which lowers heat output and power draw without necessarily reducing performance, since many chips ship from the factory with more voltage than strictly required for stable operation at their rated speeds.
Tools like Intel XTU for Intel CPUs, Ryzen Controller or similar utilities for AMD CPUs, and MSI Afterburner for GPUs let you gradually reduce voltage while testing system stability, typically in small increments, stress-testing after each change to confirm the system remains stable before pushing further.
A successful undervolt can reduce sustained temperatures by an estimated 5-15 degrees Celsius depending on how much voltage headroom the specific chip has, which often translates directly into reduced thermal throttling and more consistent frame rates during long sessions, essentially unlocking performance that heat was previously limiting.
The worst-case outcome of an unstable undervolt is a system crash or blue screen rather than hardware damage, since undervolting reduces rather than increases stress on components, making it a low-risk experiment as long as you test thoroughly with stress-testing software before relying on a new profile during an important gaming session.
Undervolting settings typically need to be reapplied after every restart unless saved through the specific software’s startup integration feature, so check whether your chosen tool supports automatically loading your tested profile on boot rather than needing manual reapplication every session.
Power and performance mode settings
Nearly every gaming laptop includes a control panel with multiple performance presets, typically ranging from a quiet or balanced mode that limits TGP and fan speed for lower noise, up to a performance or turbo mode that unlocks maximum wattage and more aggressive fan curves for the highest sustained clock speeds.
Manually setting fan curves to run more aggressively at lower temperature thresholds, available in some manufacturers’ software, trades additional fan noise for earlier, more proactive cooling that can keep temperatures lower throughout a session rather than only ramping up once temperatures are already elevated.
Windows power plan settings also interact with laptop performance, and ensuring the plan is set to “Best Performance” or equivalent during gaming, rather than a balanced or power-saving plan intended for battery conservation, ensures the CPU is not being artificially limited by the operating system on top of any hardware-level thermal limits.
Some laptops offer a specific “Whisper” or “Silent” mode intended for library or shared-space use, which meaningfully reduces both noise and sustained performance simultaneously, worth avoiding specifically during gaming sessions where performance matters more than minimizing fan sound.
What to do if your laptop shuts down or performance crashes from heat
If a laptop shuts down unexpectedly during gaming, this is very likely the built-in thermal protection triggering to prevent hardware damage after sustained temperatures exceeded the safety threshold, and it should be treated as an urgent signal to address cooling rather than something to ignore and hope does not recur.
First, check for dust blockage in the exhaust vents using compressed air, since this is the most common cause of a previously fine laptop suddenly developing severe overheating, and it is also the cheapest and fastest fix to try before assuming a more serious hardware problem.
Next, verify the laptop is on a hard, flat, well-ventilated surface rather than a bed, lap, or cluttered desk area where papers or other objects might be blocking intake or exhaust vents without you noticing during the session itself.
If shutdowns continue after cleaning and confirming proper airflow, monitor temperatures using software like HWMonitor during a short gaming session to identify exactly which component, CPU or GPU, is hitting critical temperatures first, which helps narrow down whether the issue is isolated or systemic across the whole cooling system, and consider a cooling pad and repaste as the next steps if the problem persists.
Frequently asked questions
Do laptop cooling pads actually make a measurable difference?
Yes, a quality cooling pad with active fans typically lowers internal component temperatures by an estimated 5-10 degrees Celsius by improving airflow underneath the chassis, which is often enough to reduce or eliminate thermal throttling during sustained gaming sessions, though the exact improvement depends heavily on the laptop’s existing vent placement and the cooling pad’s fan strength.
How often should I clean the dust out of my gaming laptop?
Every three to six months is a reasonable interval for most users, though heavy daily gamers or anyone in a dusty environment should check monthly, since visible dust buildup on the exhaust vents or a noticeable rise in fan noise and temperatures are reliable signs that cleaning is overdue before the interval you originally planned.
Is undervolting safe for a gaming laptop?
Undervolting is safe when done through legitimate software tools and tested gradually, since it reduces voltage rather than pushing components beyond their rated limits, and the worst-case outcome of an unstable undervolt is a system crash rather than hardware damage, though you should always test stability thoroughly before trusting a new undervolt profile during important sessions.
What temperature is too hot for a gaming laptop CPU or GPU?
Most modern laptop CPUs and GPUs are rated to operate safely up to roughly 90-100 degrees Celsius before automatic throttling or shutdown protection kicks in, so temperatures in the 70-85 degree Celsius range during gaming are generally normal and not a cause for concern on their own, while sustained readings above 90 degrees suggest a cooling problem worth addressing.
Should I repaste my gaming laptop’s thermal paste myself?
Repasting can lower temperatures noticeably on laptops more than two to three years old where factory paste has dried out, but it requires full disassembly on most models and can void warranty, so it is worth attempting only if you are comfortable with laptop teardown or willing to pay a repair shop, and not a first step before trying cooling pads, cleaning, and undervolting.